

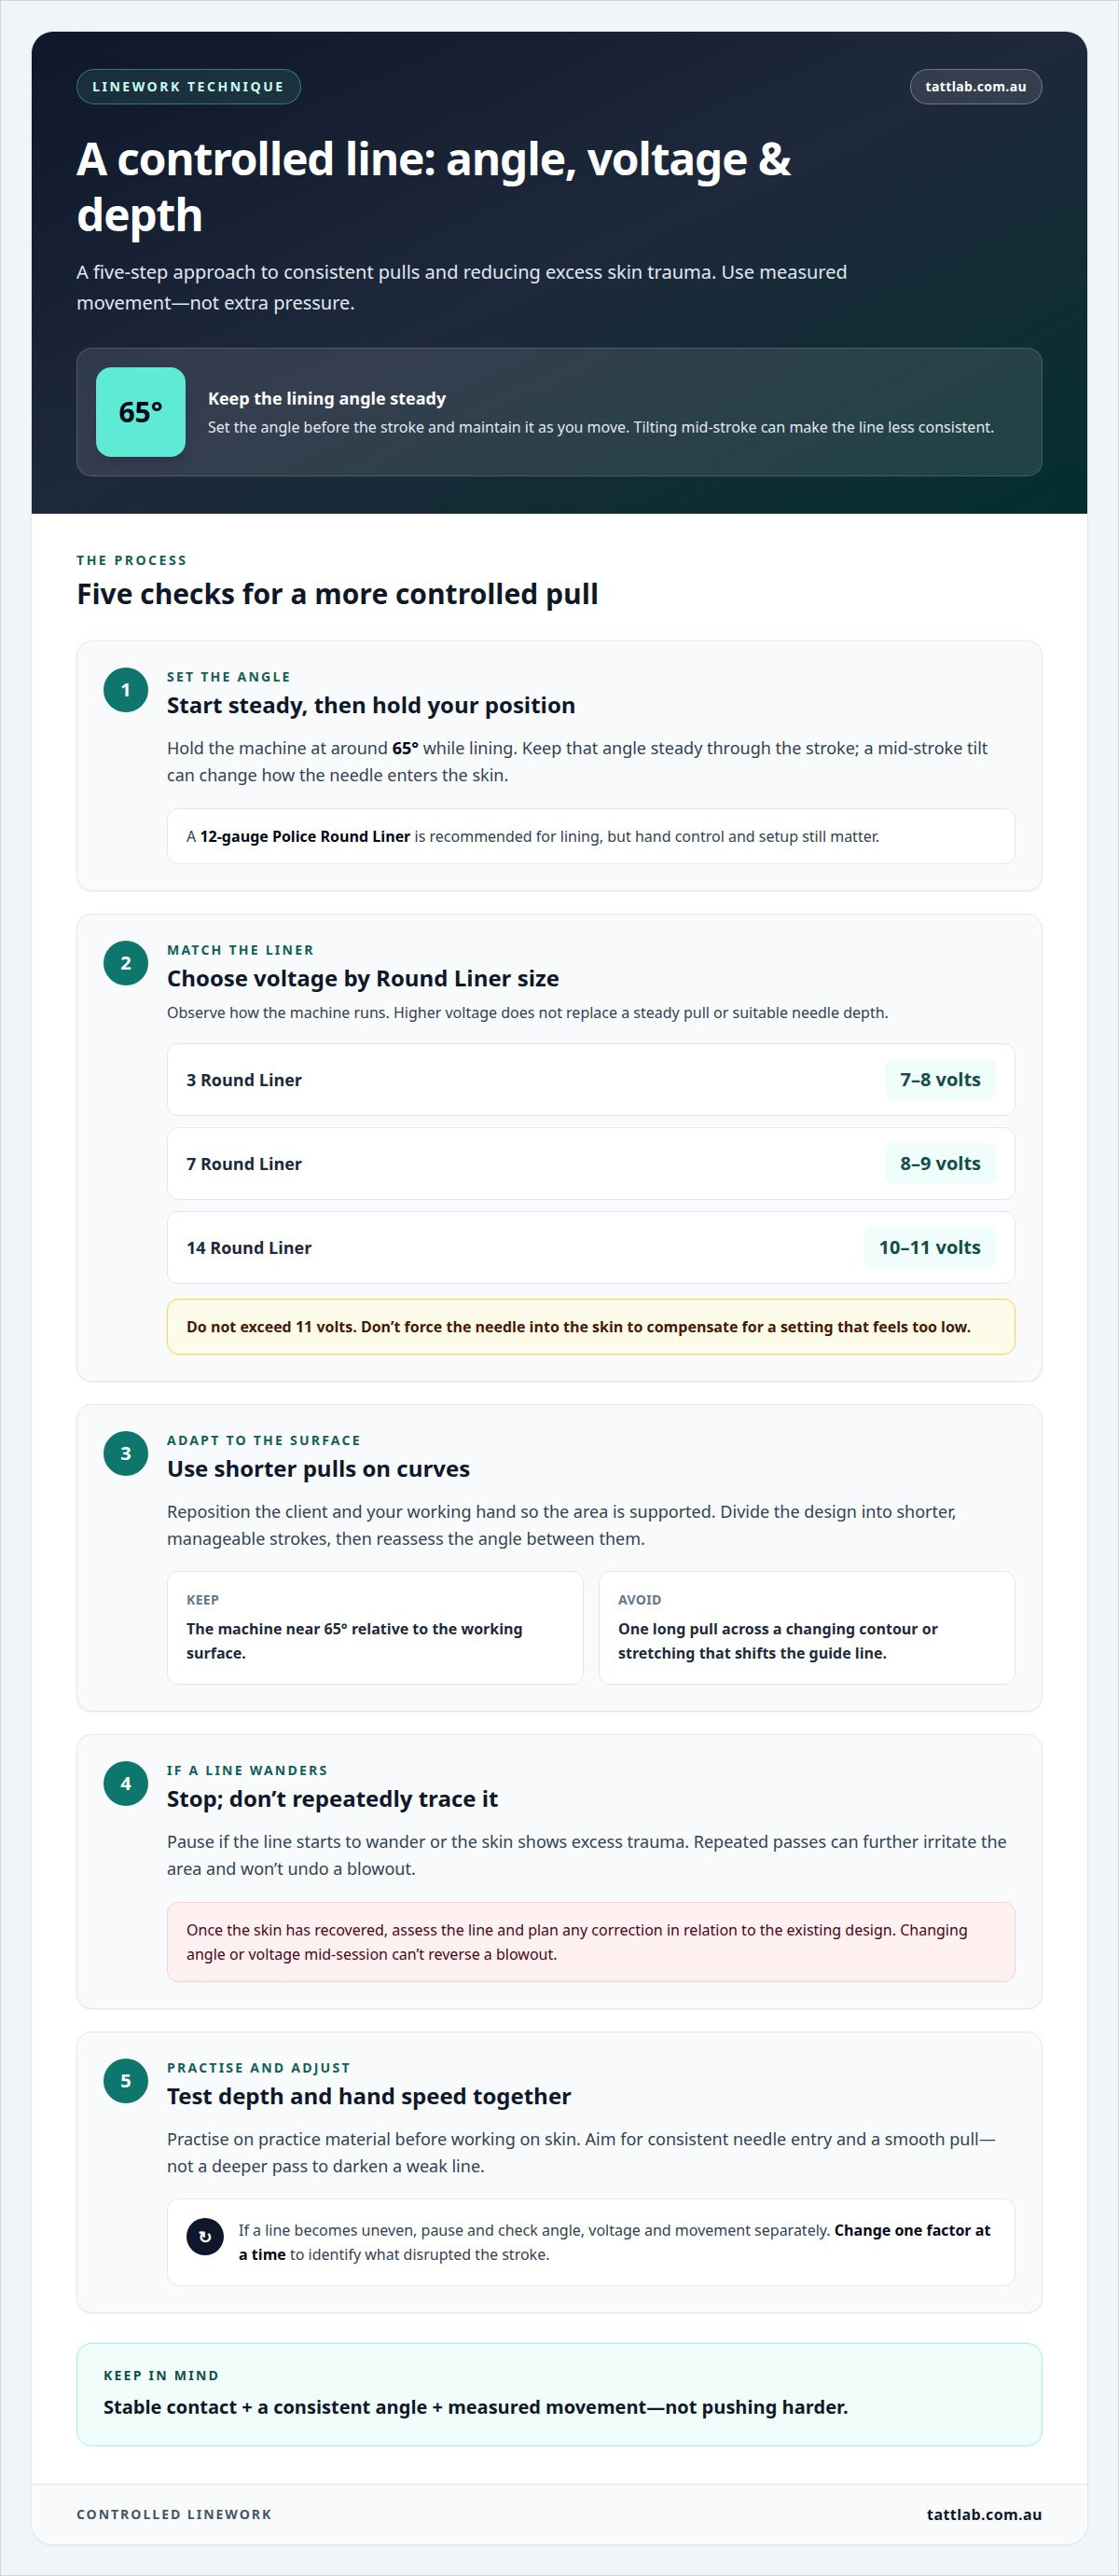
A straight tattoo line comes from stable contact, a consistent machine angle and a measured hand movement, not from pushing harder. To understand how to pull a straight line tattoo, start by stabilising the machine with three points of contact and holding it at around a 65° angle while lining. Voltage recommendations vary by liner size: 7-8 volts for a 3 Round Liner, 8-9 volts for a 7 Round Liner and 10-11 volts for a 14 Round Liner. Don’t exceed 11 volts.
If your lines wobble or the needle seems to bounce, it’s easy to blame speed or grip first. A stable setup and deliberate practice drills can give you more control, while a suitable angle, depth and voltage help reduce trauma and the risk of blowouts.
This guide covers machine stability, linework drills and adjustments for more consistent pulls. You’ll also learn to spot common causes of needle bounce and refine your technique with a calm, methodical approach.
Key Takeaways
- Build a stable setup by anchoring your grip and keeping your machine angle consistent as you line.
- Match your technique to the liner and adjust needle depth and voltage carefully to help limit skin trauma.
- Use controlled linework drills to develop a smoother pull before taking that movement into tattooing.
- Identify what may be causing needle bounce or cartridge wobble, and consider Round Liners when selecting equipment for consistent linework.
Avoiding blowouts through machine angle, needle depth and voltage
Keep your lining angle consistent at around 65° and select voltage according to liner size. Use controlled depth and movement rather than pressing harder to chase a line.
- Set your machine angle before starting the stroke. Hold it at around 65° while lining, then keep that angle steady as you move. Tilting mid-stroke can change how the needle enters the skin, making the line less consistent. A 12-gauge Police Round Liner is recommended for lining, but your hand control and setup still matter.
- Match voltage to the liner, then observe how the machine runs. Use 7-8 volts for a 3 Round Liner, 8-9 volts for a 7 Round Liner, or 10-11 volts for a 14 Round Liner. Don’t exceed 11 volts. Higher voltage isn’t a substitute for a steady pull or suitable needle depth. Avoid forcing the needle into the skin to compensate for a setting that feels too low.
-
Line on Curved or Difficult Body Areas
Reposition the client and your working hand so the target area is supported before you begin. On a curved surface, divide the design into shorter, manageable strokes and reassess the angle between them. Keep the machine near 65° relative to the working surface, rather than forcing one long pull across a changing contour. Avoid stretching the skin in a way that shifts the guide line.
-
Correct Crooked or Blown-Out Lines
Stop the stroke if the line starts to wander or the skin shows excess trauma. Don’t repeatedly trace a crooked line in an attempt to straighten it: extra passes can further irritate the area and won’t undo a blowout. Once the skin has recovered, assess the line and plan any correction in relation to the existing design. Changing the machine angle or voltage mid-session can’t reverse a blowout.
- Test depth and hand speed together on practice material before working on skin. Aim for consistent needle entry and a smooth pull, not a deeper pass to darken a weak line. If the line becomes uneven, pause and check your angle, voltage and movement separately. Changing one factor at a time makes it easier to identify what disrupted the stroke.
Holding the tattoo machine steadily
Establish a stable grip before starting a line, and maintain three points of contact while lining. Use your free hand to stretch the skin so the surface stays taut along the planned stroke.
- Set your posture before bringing the needle to the skin. Rest your forearm or wrist on a stable support, then hold the machine without clenching. A rigid shoulder or tight grip can transfer small movements to the needle path, so support your arm and keep your fingers controlled.
- Use three points of contact to stabilise the machine. Keep your grip consistent and your hand supported, maintaining steady bracing as you move. If a contact shifts during the pull, pause and reset instead of trying to correct the line with a sudden wrist movement.
- Stretch the skin in the direction that creates a firm, even surface. Place your free hand beyond the line and gently pull the skin away from the needle’s path. Don’t stretch so far that the stencil distorts or the target line moves out of alignment.
- Move from a stable elbow or forearm position instead of steering with your fingertips alone. For a short line, rehearse the movement above the skin, following the stencil from start to finish. Keep your wrist relaxed: a locked wrist can make the machine hesitate at the end of the stroke.
- Check your posture and contact points whenever the line starts to wobble. Stop, release unnecessary tension, and reposition your support before continuing. If cartridge movement is affecting your grip, consider whether tattoo cartridges suit the equipment setup you use.
Practising linework drills
Use practice skin and a clear stencil to isolate the hand movements behind clean lines. Repeat each drill with the same setup, then review the result before adjusting your technique.
- Draw long, straight guide lines on practice skin. Position your hand at the start of each line, then pull towards a visible endpoint without stopping midway. Move the machine deliberately, and note where the line begins to curve, thin or become uneven.
- Practise short lines in different directions, including left-to-right, right-to-left and diagonal pulls. Reposition your arm and body for each direction instead of twisting your wrist to reach the endpoint. Notice which movements feel controlled and where your posture interrupts a smooth stroke.
- Practise parallel lines with consistent spacing. Use a stencil or clear guides, then focus on keeping each pull aligned with its path. Compare the gaps between the lines afterwards. If the spacing narrows at one end, adjust your hand position before repeating the drill.
- Practise clean starts and finishes. Begin just before the guide line, pull through its endpoint, then lift smoothly instead of stopping abruptly. Check both ends for a heavy mark, a hook or a faint section. Repeat the same stroke, changing only your hand movement.
- Practise direction changes as separate, controlled strokes. For an angled design, finish the first pull, reset your hand, then start the next segment at the junction. Check that the meeting point looks deliberate, rather than rounded by an unsteady turn.
- Review each practice sheet under consistent lighting. Mark the cleanest line and compare it with one that shows wobble or uneven saturation. Note what changed, such as arm position, endpoint visibility or movement speed, then repeat the drill while focusing on that factor.
Preventing needle bounce and cartridge wobble
Pause if the needle skips or the cartridge shifts, rather than compensating with extra pressure. Check your grip, machine movement and cartridge fit in a controlled way to help isolate the cause.
-
Prevent Needle Bounce
Slow down and watch for inconsistent needle contact during the stroke. Bounce can result from uneven hand movement, a grip that tightens and releases, or a machine setting that doesn’t suit your pull. Keep your hand moving at a controlled, even pace; don’t press harder to force the needle into the surface. Practise on practice skin before resuming.
-
Identify Causes of Shaky or Uneven Lines
If a stroke looks shaky, check your hand movement, support and line path. Common causes include a tense grip, an unsupported hand, inconsistent movement, shifting skin or a cartridge that isn’t seated securely. Note where the line starts to falter, then change one factor at a time. This helps distinguish a technique issue from equipment movement.
- If you feel movement or see the needle assembly wobble, stop and check the cartridge connection. Make sure the cartridge is seated properly and compatible with your machine setup. Follow the equipment manufacturer’s assembly instructions, and don’t continue lining if the connection feels loose.
- Distinguish machine vibration from movement in your hand. Hold the machine steady without touching the needle, then observe whether the cartridge stays secure during operation. If it shifts, stop and reseat it. If the setup appears stable, return to practice skin and check whether your hand speed or grip changes during the pull.
- Record the setup and the symptom before making an adjustment. For example, note whether wobble appears at the start, middle or end of a line. If you’re replacing a cartridge, explore tattoo cartridges for your setup, then resume practice only after the assembly feels secure.
Tatt Lab: Round Liners
Tatt Lab offers Round Liners for artists building a setup for defined linework. Once your grip, movement and machine settings are consistent, suitable equipment is a practical next consideration. Round Liners are available alongside Tatt Lab’s Traditional Needles and Tattoo Cartridges, giving artists options for their machine setup. Equipment alone won’t correct a shaky pull, so use the drills and checks in this guide to refine your technique too.
For ongoing work, Tattoo Aftercare is another part of maintaining a considered tattooing setup. Keep your equipment choices aligned with your established process, and avoid changing several variables at once when refining linework.
If you’d like to discuss your tattoo equipment needs, contact Tatt Lab.
Make steady linework part of your practice
Use each practice session to build a clearer connection between intention and hand movement. Rather than chasing flawless work straight away, choose one aspect of your process to refine and observe how that change affects your next attempt. This measured approach helps you recognise your working patterns and make deliberate adjustments over time.
Understanding how to pull a straight line tattoo is an ongoing skill, shaped by repetition, attention and thoughtful equipment choices. Keep a record of what feels controlled and what needs further practice. When you’re ready to consider your setup, discuss your tattoo equipment needs with Tatt Lab.
Take your next practice session one line at a time. Consistency comes from patient, purposeful work.
Frequently Asked Questions
How do tattoo artists pull a straight line on skin?
Learning how to pull a straight line tattoo starts with planning a path you can follow without twisting your wrist. Position the client and stencil so you can maintain a stable posture throughout the stroke. For a long design element, identify natural stopping points at corners or joins, then check the alignment before continuing. Breaking the line into sections makes each pull easier to guide deliberately.
What grip and hand position help tattoo artists draw straight lines?
Use a relaxed grip, guiding the machine with your thumb and index finger while keeping your other fingers steady around the grip. Brace your hand against a stable area near the work, clear of the stencil path. If an endpoint is awkward to reach, reposition your arm before starting instead of stretching your fingers across the skin.
Which tattoo machine needle and voltage are best for lining?
A 12-gauge Police Round Liner is recommended for lining, with voltage selected according to liner size. Use 7-8 volts for a 3 Round Liner, 8-9 volts for a 7 Round Liner, or 10-11 volts for a 14 Round Liner. Don’t exceed 11 volts. Treat these as starting recommendations and assess how your machine and hand movement work together.
How do tattoo artists practice straight lines before tattooing skin?
To refine how to pull a straight line tattoo, practise on suitable practice skin with a stencil or clearly drawn guides. Include horizontal, vertical and diagonal strokes, then compare them for drift, uneven starts and inconsistent finishes. Note what changed between attempts, such as posture or direction. Keeping a focused record makes each practice session more deliberate.


Comments (0)
There are no comments for this article. Be the first one to leave a message!